Introduction
Garbhasana is also known as Garbha Pindasana. This posture belongs to the group of Lotus Posture. It is one of the advanced level yoga posture. This posture is identical to Inverted Tortoise Pose.
Garbha Pindasana is a medieval Hatha Yoga Posture. Bahr al-Hayat, a Persian translated text published in 1602 CE, describes this yoga position with a little variation. This posture, according to the said text, is not performed with a lotus posture. However, Gheranda Samhita describes a version similar to Garbhasana as an Inverted Tortoise Pose.
Therefore it is evident that the origin of this posture is the early medieval Hatha Yoga period.
Garbhasana Meaning
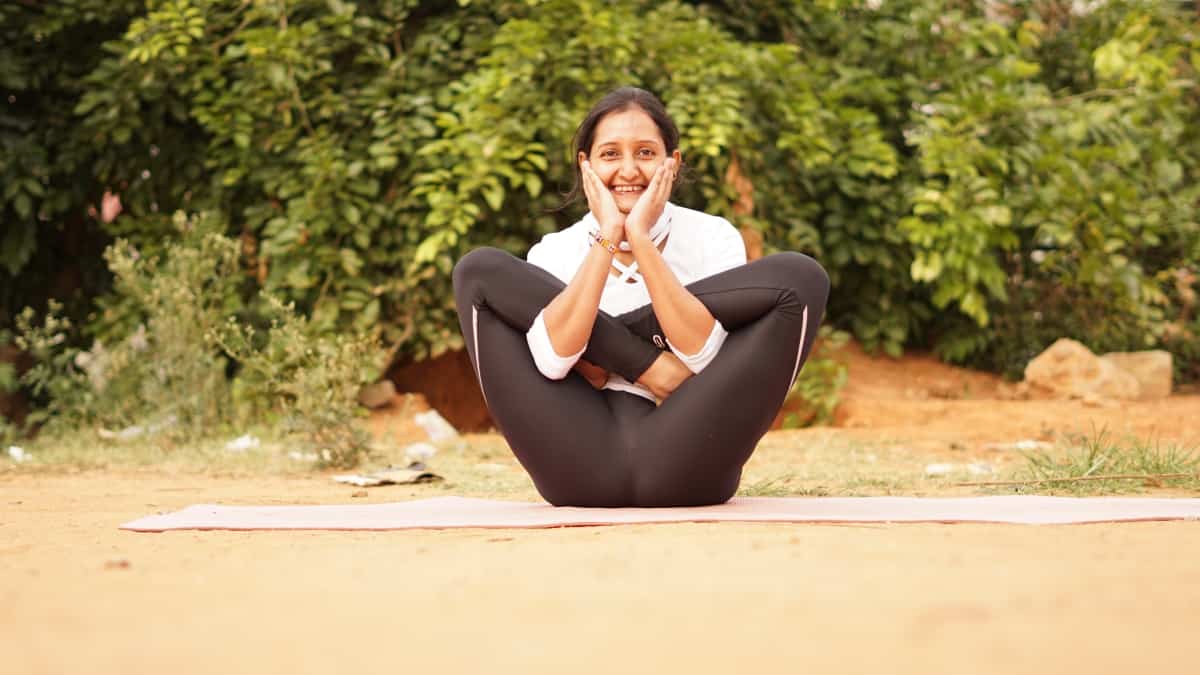
The Sanskrit word Garbha means a fetus. This posture when performed looks like an unborn offspring. Hence the pose gets this name and called in English as Foetus in Womb Pose or Embryo in Womb Pose. Some people call this simply as Foetus Pose or Embryo Pose.
Garbhasana Practice Routine
The practice routine of Embryo Pose includes Preparatory Poses, Step by Step procedure, and follow up poses.
Garbhasana Safety and Precautions
As the Embryo Pose involves complex bending, Pregnant people should avoid this one.
Besides this, those who are having the following issues should also avoid this posture.
- Lower Back pain or issues
- Sciatica pain
- Knee injury or ailments
- Pain and other issues in the spine
Preparatory Poses
To get mastery over this posture, the aspirant should prepare herself with the practice of following poses.
Garbhasana Steps
Step 1
Sit in Lotus Posture. Resume to Cockerel Posture.
Step 2
Sit on the floor by letting down your buttock with knees raised up. Now the bodyweight is on your buttock instead of your hands. Bend your elbows. Hold your ears with your fingers. To make this, adjust the height of your knees and lean your head a little forward.
Step 3
Close your eyes or fix your eyesight on any object in front of you. Breathe normally. Keep the position as long as you feel comfortable.
Step 4
To release the position, take off the fingers from your ears. Down your legs. Take off your hands from the inserted position. Release Lotus Posture.
Step 5
Assume Lotus Posture with legs crossed on the alternate side. Repeat Step 1 to Step 4.
Duration
Initially, the duration of the practice may be up to one or two minutes. This can be extended for a period off our to five minutes.
Variation of Hand Position
Instead of holding the ears with your fingers, your palms may be kept in Anjali Position in front of your chest.
Alternatively, hold the upper arms below armpits on the opposite side.
As an advanced step, the palms may be clasped around the neck.
Tips
During the initial course of practice, one may put the hands in Anjali Position. This is the easiest one to perform. After some days of practice, one may for the upper arms position. Subsequently, one may try holding the ears and then clasping the palms behind the neck.
Follow Up Poses
During the practice, your spine makes a forward curve. To counter this, one should go for anyone the following postures.
- Cobra Pose
- Crocodile Pose
- Fish Pose
Garbhasana Benefits
The benefits of Garbha Pindasana are as follows.
Controls Anger and Stress-related issues
The regular practice of Embryo Pose provides relief from anger, depression, and anxiety. It helps to maintain emotional balance.
Alleviates Nervous Disorders
The practice tones the nerves and drives out the nervous disorders. It activates the Parasympathetic Nervous System and gives relief from psychosomatic diseases like Hypertension, and Cardiac Diseases.
Tones up the internal Organs
Embryo Position tones up the internal organs like liver, kidney, adrenal glands, and pancreas and helps them function properly. It improves constipation and digestive disorders.
Activates Naval Chakra
This practice activates the Naval Energy Centre and advances the spiritual progress of the practitioner.
