Introduction
Surya Namaskar, or Sun Salutation, is a popular sequence of yoga poses traditionally practiced at sunrise. This popular series includes 12 steps that are often repeated two to four times, with each set bringing physical and mental benefits. Learn Surya Namaskar with the names of the steps with this comprehensive guide.
Steps in Surya Namaskar vary from one style to another. We have already seen a ten-step Surya Namaskar which is the first modern version, in our article: Surya Namaskar – The Complete Guide.
Surya Namaskar Names of Steps [Sanskrit and English Names]
The following table shows the steps in Surya Namaskar with yoga pose names.
| Step No | Surya Namaskar Poses | Asana Name in English |
|---|---|---|
| 1 | Pranamasana | Prayer Pose |
| 2 | Hasta Uttanasana | Raised Arms Pose |
| 3 | Pada Hastasana | Hand To Foot Pose |
| 4 | Ashwa Sanchalanasana | Equestrian Pose |
| 5 | Adho Mukha Svanasana | Downward Facing Dog Pose |
| 6 | Ashtanga Namaskara | Eight Parts Salute |
| 7 | Bhujangasana | Cobra Pose |
| 8 | Adho Mukha Svanasana | Downward Facing Dog Pose |
| 9 | Ashwa Sanchalanasana | Equestrian Pose |
| 10 | Pada Hastasana | Hand To Foot Pose |
| 11 | Hasta Uttanasana | Raised Arms Pose |
| 12 | Pranamasana | Prayer Pose |
Twelve Steps of Surya Namaskar with Names and Mantras
In this section, the twelve steps of Surya Namaskar are explained with the asana names and breathing.
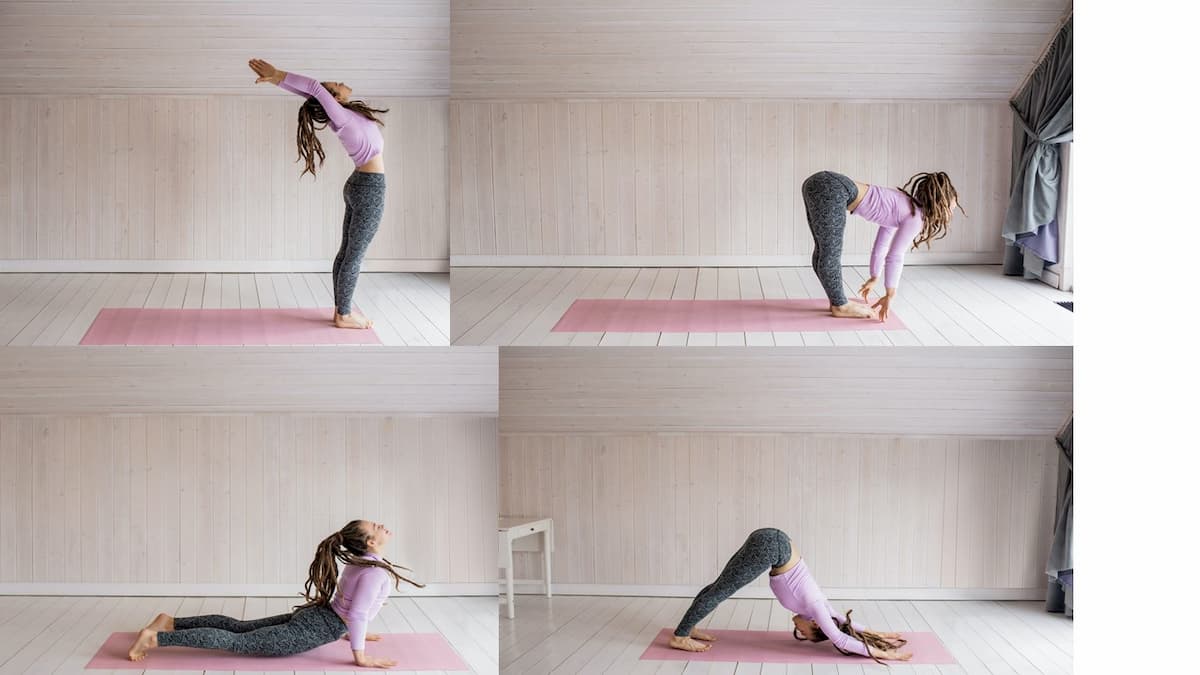
Step 1: Pranamasana [Prayer Pose]
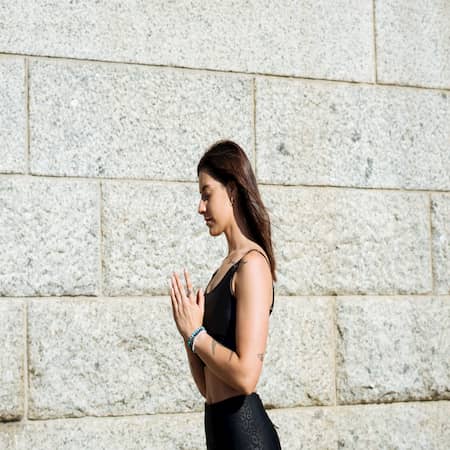
Stand with feet apart. Ensure a gap of around 30 cm gap in between the feet. Put the palms in Anjali Mudra at chest level. Close your eyes and take a couple of deep breaths. Chant the Mantra Om Hram. Alternatively, chant Om Mitraya Namaha or Om Hram Mitraya Namaha.
Step 2: Hasta Uttanasana [Raised Arms Pose]
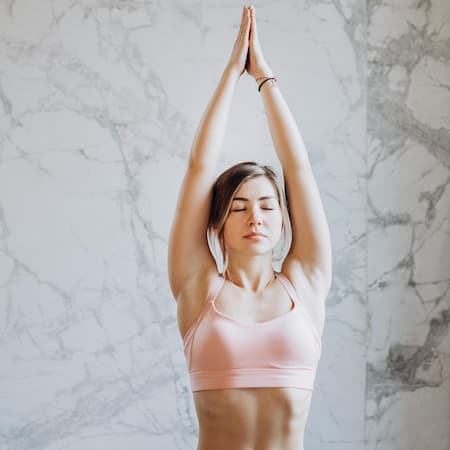
Inhale and raise your hands over your head. Keep the palms together. Then bend the head backward and look up at palms. Now spread the palms out so that each arm should form a straight line at shoulder level. Chant the Mantra Om Hrim or Om Ravaye Namaha or Om Hrim Ravaye Namaha. Note: If you took the first Mantra for chanting in the first step, you should chant the first Mantra here and in subsequent steps also.
Step 3: Padahastasana [Hand to Foot Pose]
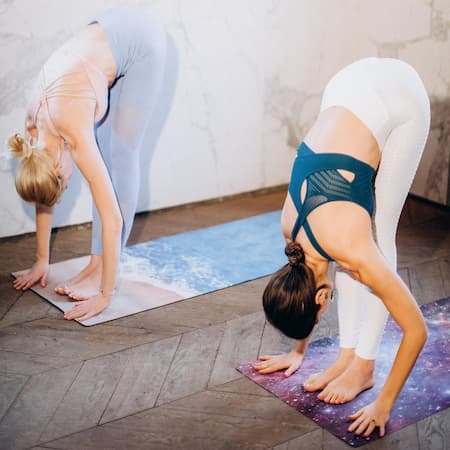
Now bend forward and place the palms on the floor on either side of the feet. While bending forward, exhale. Keep the knees straight and try to touch them with the forehead. Chant the Mantra Om Hrum or Om Suryaya Namaha or Om Hrum Suryaya Namaha.
Step 4: Ashwa Sanchalanasana [Equestrian Pose]
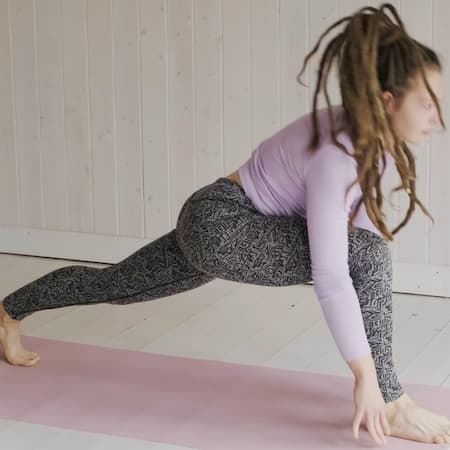
Bending the left knee, stretch the right leg back to the maximum extent. While stretching inhale. The right knee should touch the floor. Don’t change the position of the left leg. Keep the arms straight. Now the weight of the body is on the right toes, right knee, left foot, and palms. Tilt the head backward and arch the back. Fix the eyesight on the roof. Chant the Mantra Om Hraim or Om Banave Namaha or Om Hraim Banave Namaha.
Step 5: Adho Mukha Svanasana [Downward Facing Dog Pose]
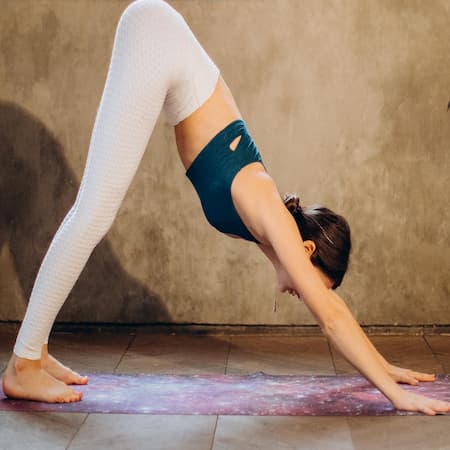
Now take the left foot back and place it alongside the right foot. Exhale while doing so. Raise the buttocks and lower the head between the arms. Now arms, back, and legs form a triangle. The arms and legs should be straight. Ensure that the heels are well placed on the floor. Chant the Mantra Om Hraum or Om Khagaya Namaha or Om Hraum Khagaya Namaha.
Some people call this pose Parvatasana.
Step 6: Ashtanga Namaskara [Eight Parts Salute]
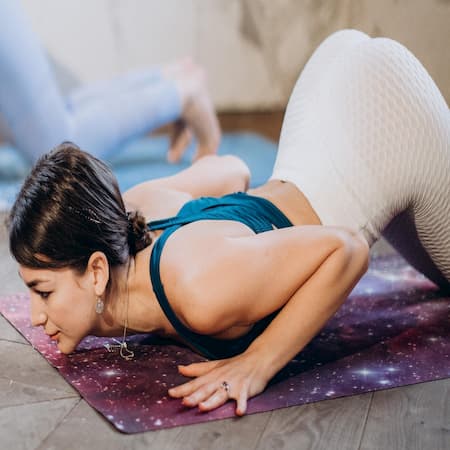
Lower the chest, and knees. and the chin. Now the chin, chest, palms, knees, and toes touch the floor. The abdomen, hips, and buttocks should be raised. Ashtanga means eight parts. Two palms, two knees, two feet, a chest, and a chin form eight parts. Chant the Mantra Om Hurrah or Om Pushne Namaha or Om Hurrah Pushne Namaha.
Step 7: Bhujangasana [Cobra Pose]
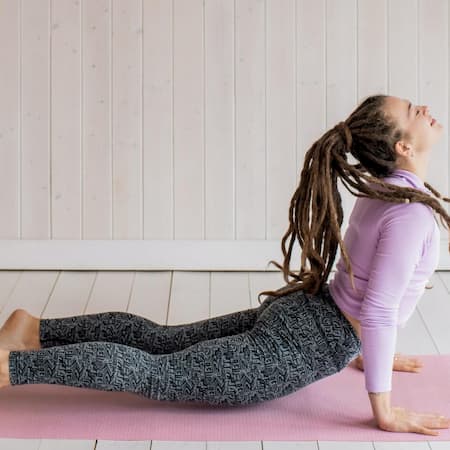
Lower the hips and buttocks to the floor. Arch the back and push forward the chest. Inhale while doing so. Tilt the head backward and fix the eyesight on the roof. Chant the Mantra Om Hram Hrim (alternatively Om Hram) or Om Hiranya Garbhaya Namaha or Om Hram Hrim Hiranya Garbhaya Namaha (alternatively Om Hram Hiranya Garbhaya Namaha).
Step 8: Adho Mukha Svanasana [Downward Facing Dog Pose]
Here repeat Step 5. Chant the Mantra Om Hrum Hraim (alternatively Om Hrim) or Om Marichaye Namaha or Om Hrum Hraim Marichaye Namaha (alternatively Om Hrim Marichaye Namaha).
Step 9: Ashwa Sanchalanasana [Equestrian Pose]
Repeat Step 4. But there is one difference. Instead of taking the right leg back, take the left leg back. Chant the Mantra Om Hraum Hurrah (alternatively Om Hrum) or Om Adithyaya Namaha or Om Hraum Hurrah Adithyaya Namaha (Alternatively Om Hrum Adithyaya Namaha).
Step 10: Padahastasana [Hand to Foot Pose]
Repeat Step 3. Chant Mantra Om Hram Hrim Hrum (alternatively Om Hraim) or Om Savitre Namaha or Om Hram Hrim Hrum Savitre Namaha (alternatively Om Hraim Savitre Namaha).
Step 11: Hasta Uttanasana [Raised Arms Pose]
Repeat Step 2. Chant the Mantra Om Hraim Hraum Hurrah (alternatively Om Hraum) or Om Arkaya Namaha or Om Hraim Hraum Hurrah Arkaya Namaha (alternatively Om Hraum Arkaya Namaha).
Step 12: Pranamasana [Prayer Pose]
Repeat Step 1. Chant the Mantra Om Hram Hrim Hrum Hraim Hraum Hurrah (alternatively Om Hurrah) or Om Bhaskaraya Namaha or Om Hram Hrim Hrum Hraim Hraum Hurrah Bhaskaraya Namaha (alternatively Om Hurrah Bhaskaraya Namaha).
Breathing In Surya Namaskar
| Step | Breathing |
|---|---|
| 1 | Exhale |
| 2 | Inhale |
| 3 | Exhale |
| 4 | Inhale |
| 5 | Exhale |
| 6 | Hold |
| 7 | Inhale |
| 8 | Exhale |
| 9 | Inhale |
| 10 | Exhale |
| 11 | Inhale |
| 12 | Exhale |
Surya Namaskar for Beginners
Beginners may find it difficult to practice the Sun Salutation steps. The breathing and Mantras would be harder still. Hence a beginner should not start with Mantras first. Mantras may be added after getting mastery.
There is a simple rule to remember to breathe for each step. Inhale while the body is raised or the chest is expanded. Exhale while you bring the body down or the chest is contracted. Still, you feel it harder, just forget about breathing and concentrate on the steps. Once you mastered the steps, breathing can be perfected later.
Steps 3 and 4 may be difficult for beginners. For Step 3, if you could not the floor with your palms, just try without strain. Within a week or ten days, it will be easier. The same is the case when you try to touch the floor with your knees in Step 4. It will become easier within four to five days. The other steps are not much harder.