Introduction
Janusirsasana is a modern Yoga posture. Also, it is spelled Janu Sirsasana. We could not find any reference to this posture in medieval Hatha yogic texts. Yet, considering the benefits it offers, it is an important yoga posture.
This yoga pose first appeared in Yoga Makaranta of Sri Krishnamacharya in the year 1934. However, a similar pose by the name Maha Mudra has been in existence from the medieval Hatha Yoga period. Furthermore, it is also a variant of Seated Forward Bending and is often called Ardha Pascimottanasana Hence, it is a modern variant of the traditional yoga poses.
This article provides a piece of detailed information along with its meaning, steps, and benefits.
Basic Information
| Pose Name | Janusirsasana |
| Sanskrit Name | जानु शीर्षासन |
| IAST | jānu śīrṣāsana |
| English | Head to Knee Forward Bending Pose |
| Origin | Modern |
| Level | Intermediate |
| Group | Pascimottanasana |
| Type | Forward bending, Spinal twist |
Janusirsasana Meaning
Janusirsasana is the combination of three Sanskrit terms: Janu, Siras or Sirsa, and Asana. Janu means knee. Siras means head. Everyone knows what Asana is. Hence, Janusirsasana is a Knee Head Pose. For easy understanding, it is commonly translated into English as Head to Knee Forward Bending Pose.
Janusirsasana step-by-step Procedure
Precautions and Contraindications
Persons who have the following issues should avoid this posture.
- Disc disorders
- Sciatica
- Hernia
Also, Pregnant Ladies should not perform this practice.
Janusirsasana Preparatory Poses
The following poses help you prepare for Head-To-Stand Forward Bending.
Janusirsasana Steps
Step 1
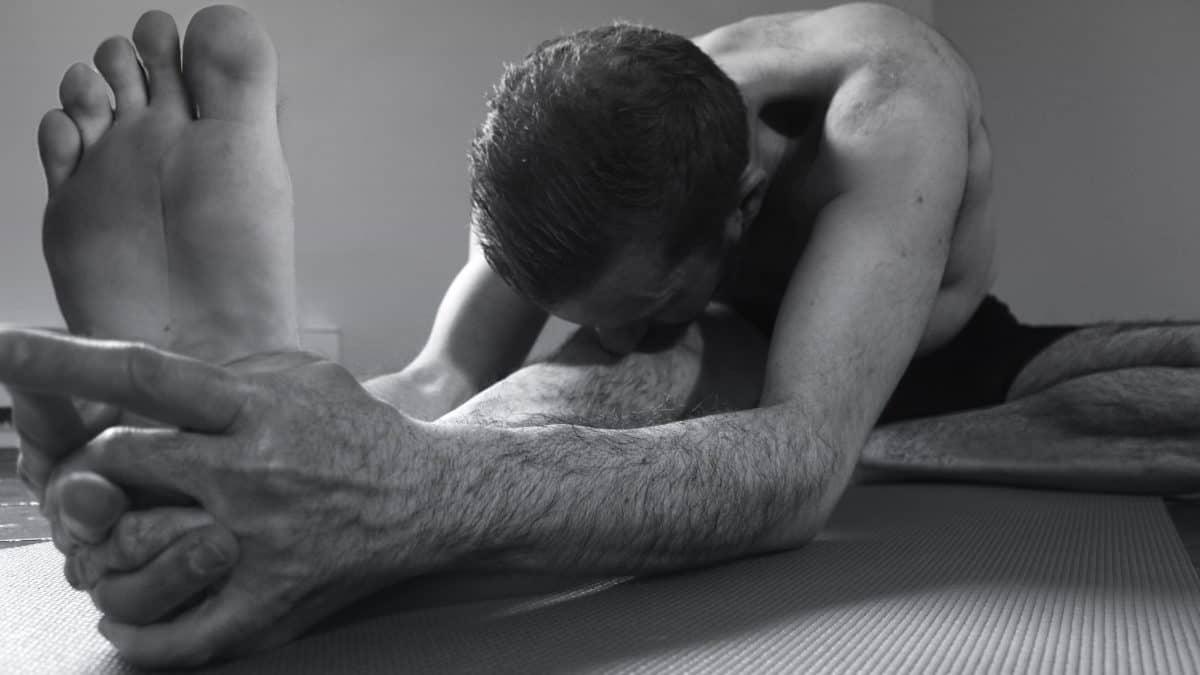
Sit with legs stretched out. Inhale slowly to the optimum capacity. Then, bend one leg and place the heel against the perineum. Similarly, place the sole under the thigh of the opposite leg.
Step 2
Then, slowly bend forward and grasp the stretched foot or get hold of the big toe. Exhaling, touch the knee with the forehead.
Step 3
Hold your breath. This is for advanced practitioners who have experience in holding their breath. Others continue with slow normal breathing. Be in the same position to the extent possible. After a while, release the hand and come back exhaling to the original position.
Step 4
Similarly, repeat the above steps with the other leg. Practice this four to five times.
Duration
Beginners may keep the final position for at least 30 seconds. However, the adept may extend the duration for two to three minutes.
Follow Up Poses
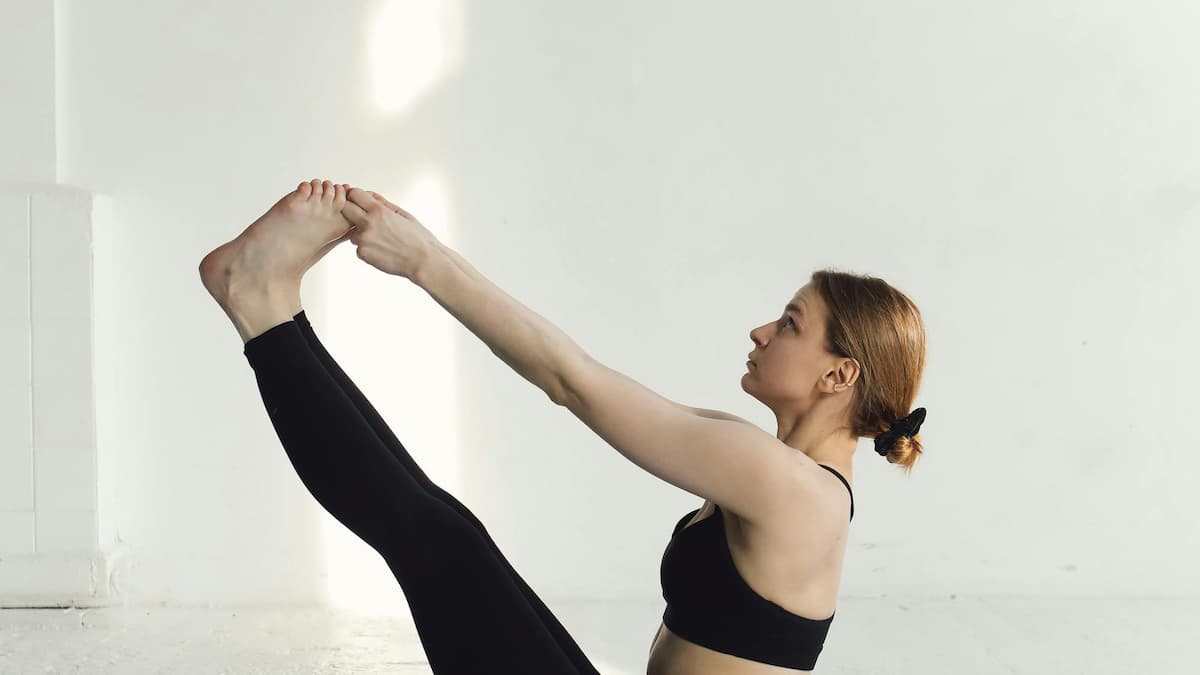
This being the forwarding pose, one should follow up with any one of the backward bending poses listed below.
Also, this pose is a spinal twist. There is no follow-up practice required for a twist if the pose is done equally with the alternate legs stretched. However, the practice of a backward bending pose is compulsory.
Beginners Tips
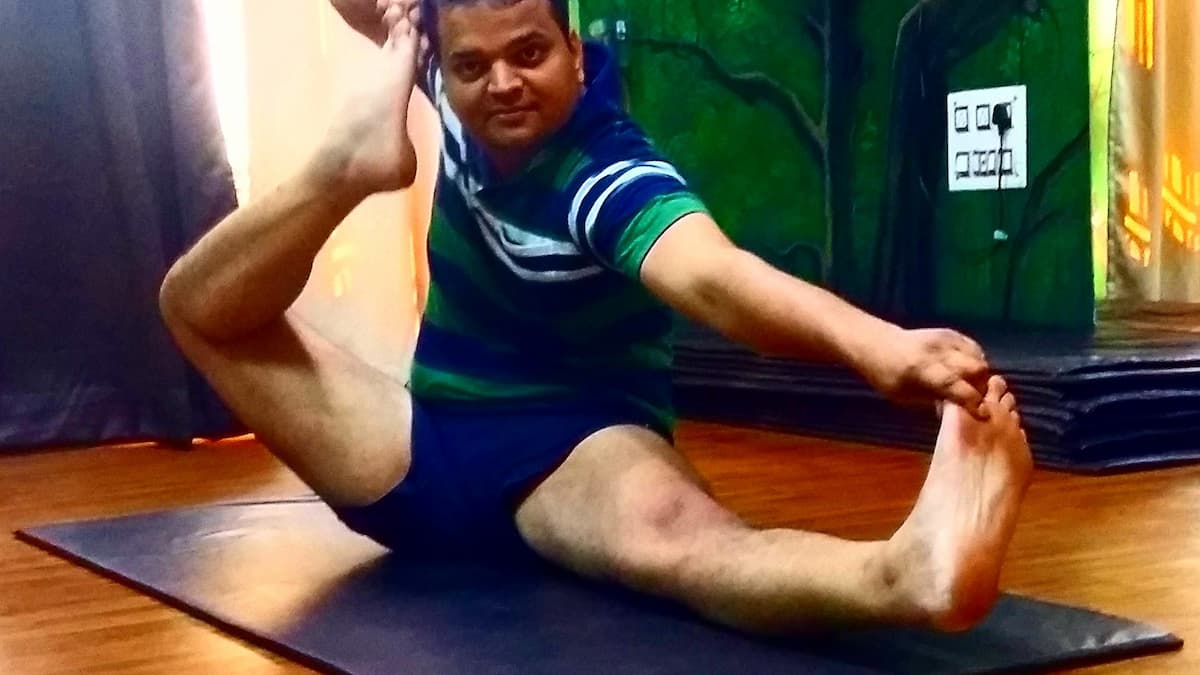
Beginners will find it hard to hold their feet or big toes. Until they get mastery, they should reach out to the possible extent and hold that part of the leg. Alternatively, one may use straps for reaching out.
Also, it is difficult for beginners to touch the knee with their heads. They should reach out to the maximum possible extent. However, it becomes easier with regular practice.
Advanced Pose Considerations
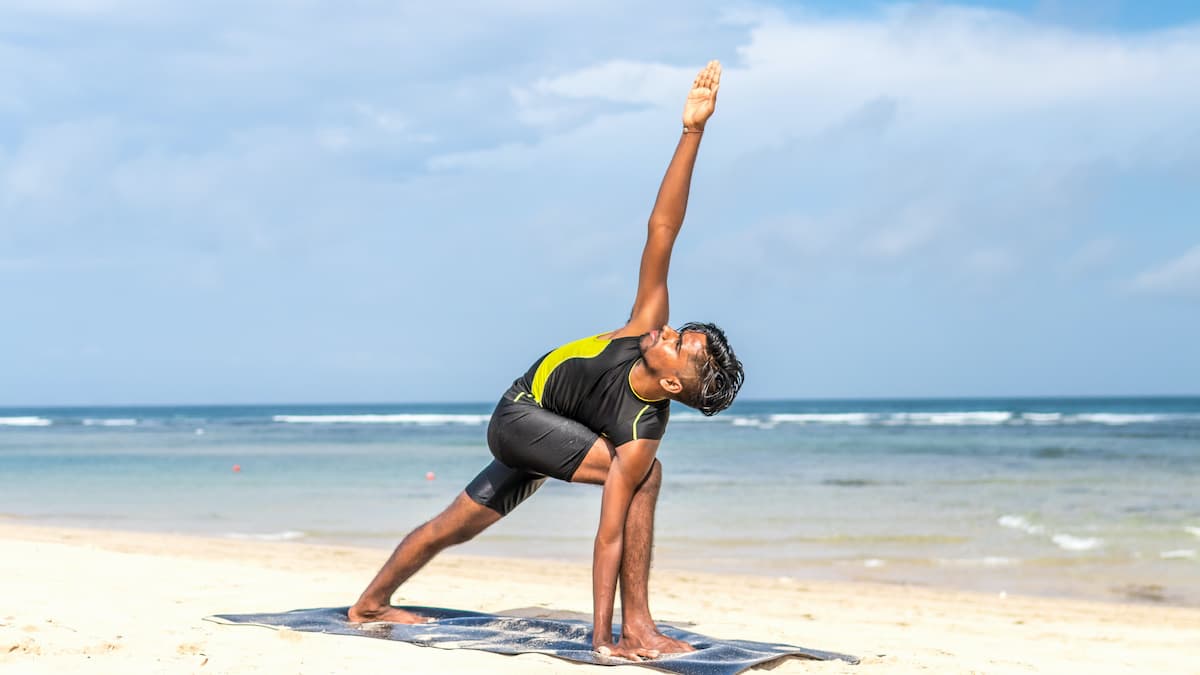
There is an advanced variation to this pose: Revolved Head to Knee Pose.
Janusirsasana Benefits
- It stretches the hamstring muscles
- Also, This Pose increases the flexibility of the hip joints
- It removes the disorders of the abdominal and pelvic regions. For instance, disorders that include Pancreas, Kidney, and Adrenal Gland
- Additionally, this pose removes belly fat and aids in weight management
- Moreover, it is used as supportive therapy for ailments like diabetes, prolapse, menstrual disorders,
- Furthermore, mastery over this posture enables one to practice advanced poses like Lotus Posture, Adept’s Posture, Seated Forward Bending Pose, and Revolved Head-to-Knee Pose.


